06. Stitching Your Footage
After your footage is synchronized, the next step is to stitch it all together. To get started, click the Stitch button at the top of the window.

Click the Stitch button to start the stitch process
You’ll see a number of stitching options appear at the left side of the screen.
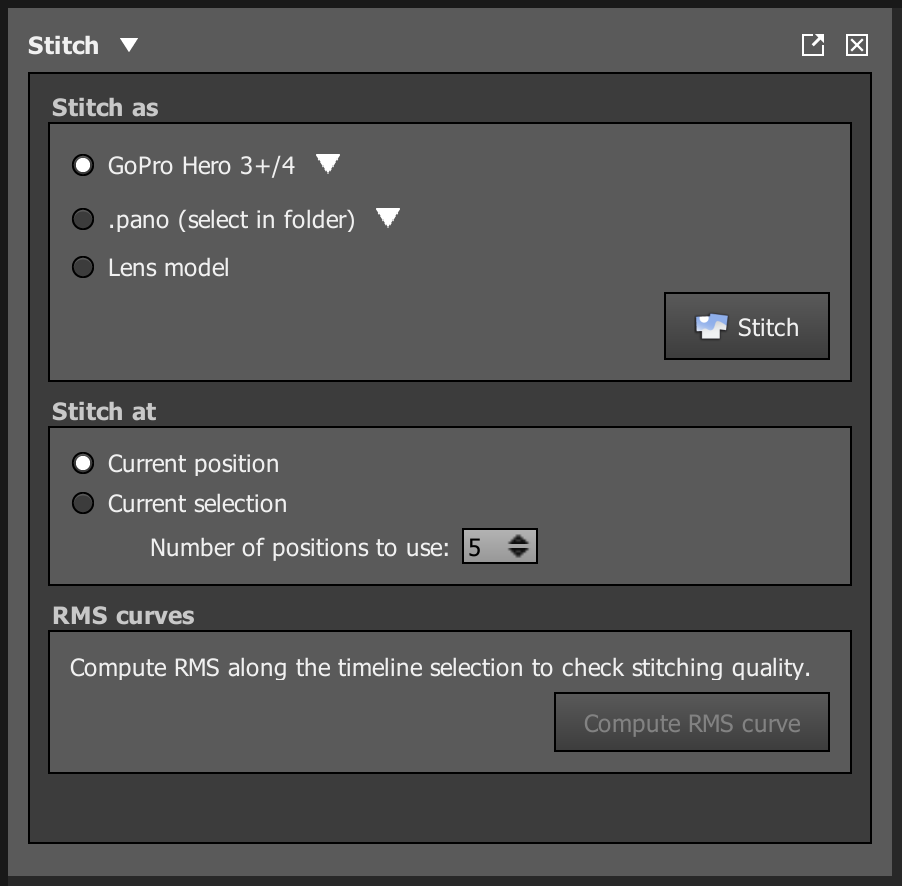
There are several stitching options available in Autopano Video.
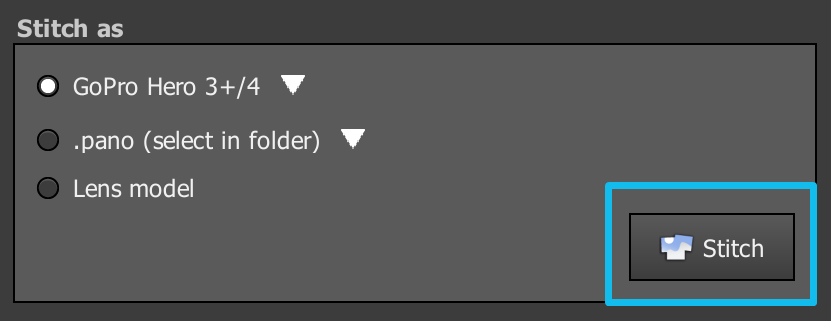
Stitch As
In order to correctly stitch your footage, Autopano Video needs to understand your camera lens model. There are several ways to provide this data to Autopano Video. But, the easiest way is to just tell it the kind of camera you used to record your footage.
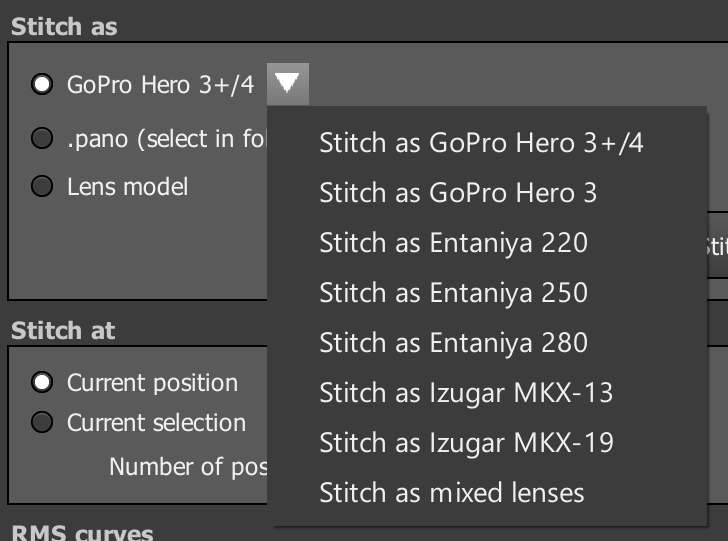
There are many camera options available.
The Stitch as options allow you to set the kind of camera you used to record your footage. Given this information, Autopano Video can determine all the important information needed to stitch your footage.
For our course materials, we used a two-camera rig with 7mm fish eye lenses. So, we’ll need to use a custom lens model.
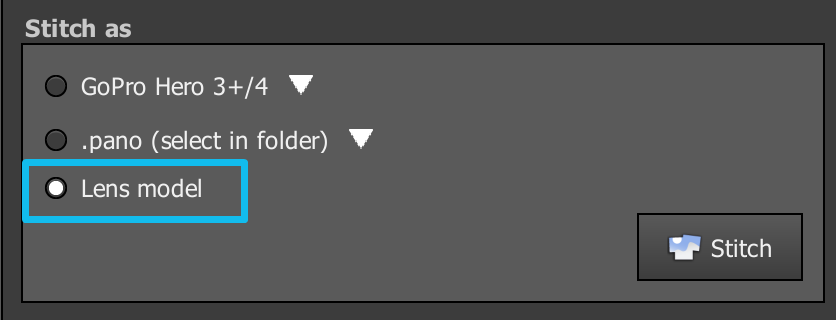
Choose a custom lens model
In the pop-up window, set the Focal Length to 7.0mm and the Lens Type to Fisheye.
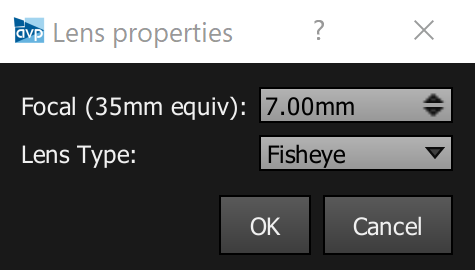
Set the custom lens properties to 7mm with a Fish Eye lens type.
Stitch At
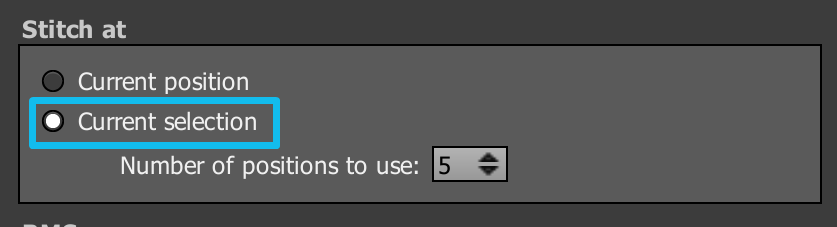
Switch the Stitching range to just the current selection.
Under Stitch At, switch the stitching to Current selection. This will only stitch the range defined by the blue line above the timeline. This will make the stitching process go much, much faster.
In order for this to work, you need to set your Current selection range. This is the blue line above your timeline.
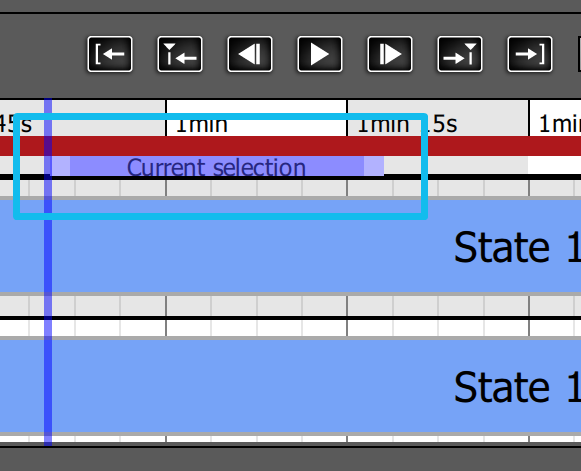
Set the current selection range in the timeline.
Move the left and right handles to adjust the current selection range. Set the range to the portion of the video that is most interesting to you. Remember, you can only render 30 seconds of video using the Autopano Video trial. So, there is no benefit to setting a range longer than 30 seconds in duration.
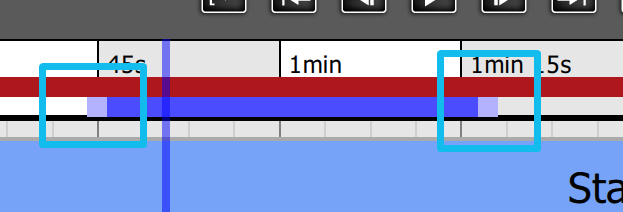
Use the left and right handles to adjust the current selection range
After you’ve set your current selection, go ahead and click the Stitch button to start the stitching algorithm.
Click the Stitch button to run the stitching algorithm.
Wait for the stitching algorithm to finish, then you’ll see a Realtime Preview window appear.
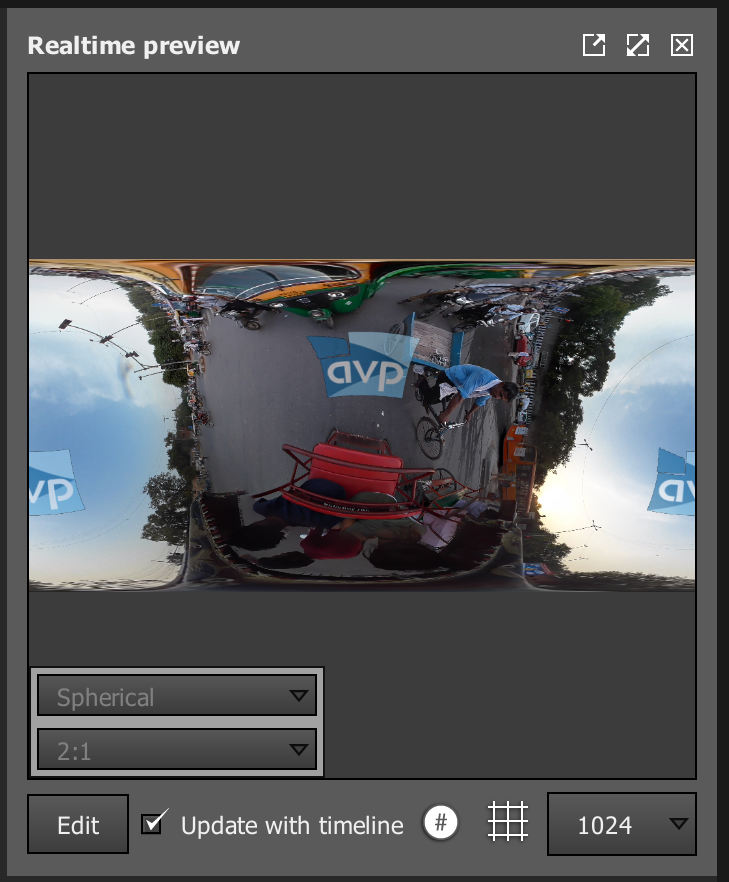
The realtime preview window allows you to preview the results of your stitch.
Go ahead and hit play to watch your stitch in near-realtime.
You may see some errors in the stitch, for example, areas that don’t line up perfectly, or don’t blend together well. Don’t worry, we’ll go further into fixing those in a little while.
Typical errors might include visible differences in color along the sky or ground, ghostly images where buildings or people get repeated more than once, or awkward misalignments of the horizon.
We’ll go through how to correct this problems in the upcoming lessons. OK, let’s move to camera stabilization.
Project Preview:
